In the spirited world of home bartending, knowing your essential bar tools is as crucial as mastering the shake or stir. Is your jigger just as important as your bakeware when crafting that signature cocktail? Dive into this post to unlock the secrets of professional-looking cocktail photos.
Key takeaways
- Diffused light is key to highlighting the best features of your cocktails.
- The background and glassware can make or break the aesthetic of your drink photo.
- Experiment with angles and composition to showcase the drink’s personality.
- Garnishes should complement, not dominate, the visual storytelling of your cocktail.
How can you snap a stellar cocktail shot?
Snapping the perfect picture of a cocktail is not just about the click; it’s an art that captures the essence of a drink. From the glint on a crystal-clear ice cube to the seductive curve of a lime wedge, your cocktail’s photo is your trophy for the mixological masterpiece you’ve crafted. Ready to elevate your drink photography game?
Here’s a breakdown of the niftiest tricks for capturing your libations at their photogenic best.
1. The right lighting
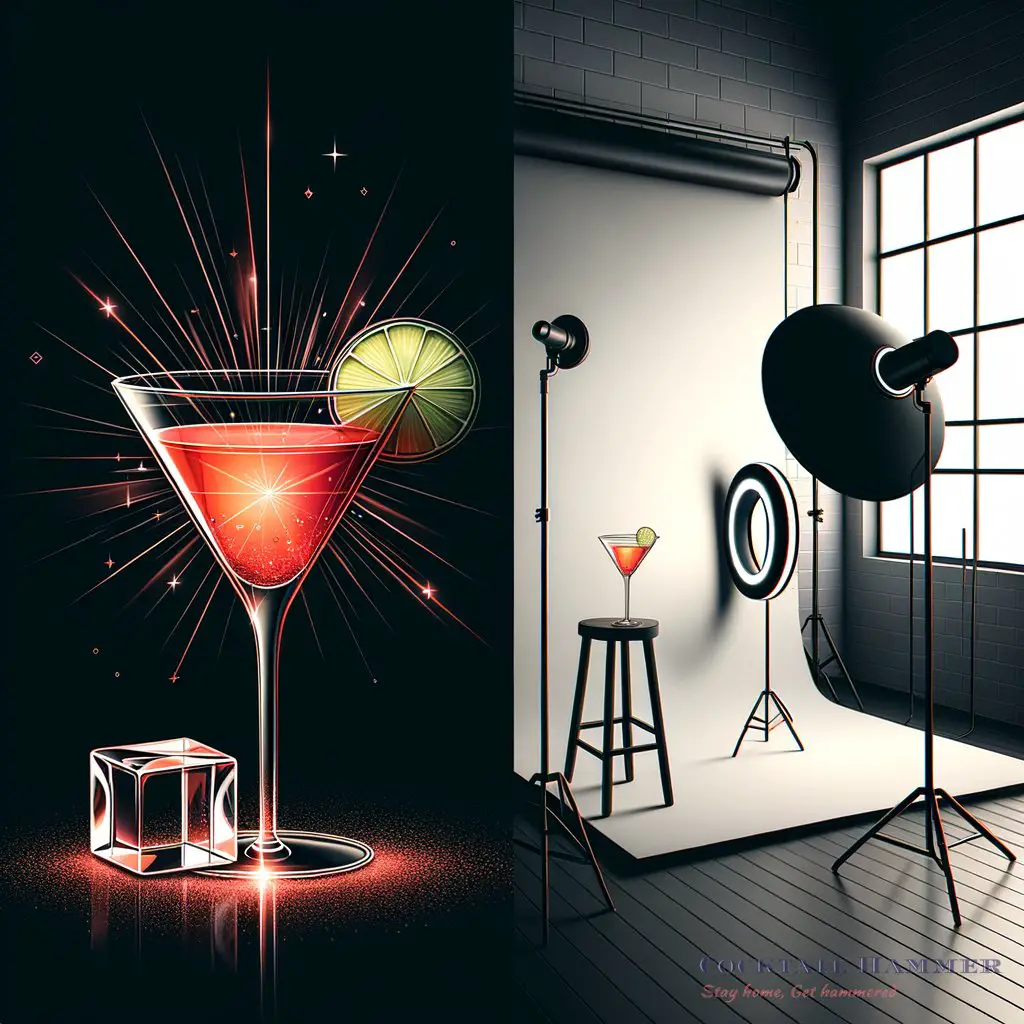
Lighting is the ace up your sleeve in cocktail photography. It can make your drink glow like a jewel or fuse colors in ways that pique the interest of any thirsty scroller. Use soft diffused light to avoid harsh shadows.
A simple trick is positioning your drink near a window with natural light. Steer clear of direct sunlight though; you want your cocktail to sparkle, not squint.
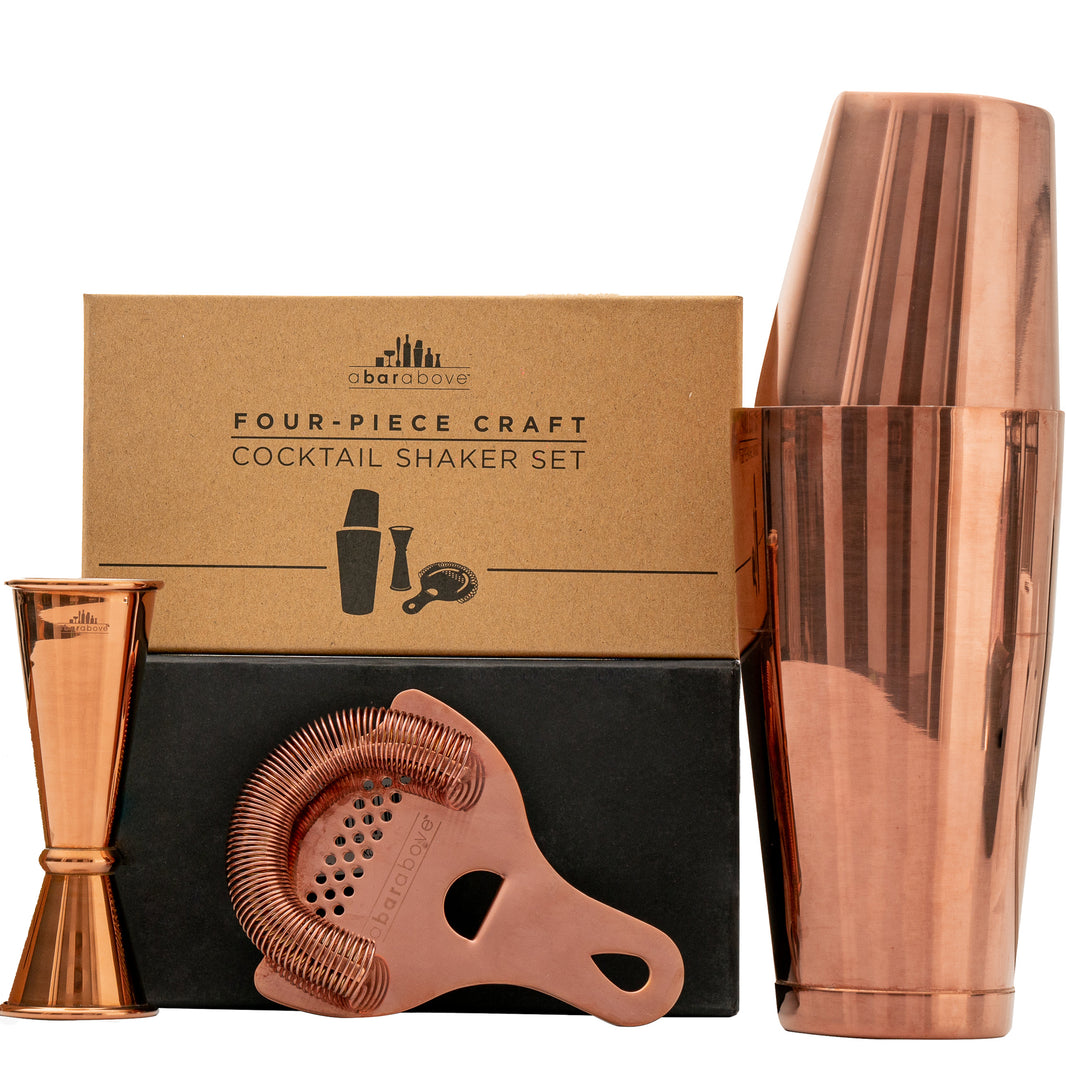
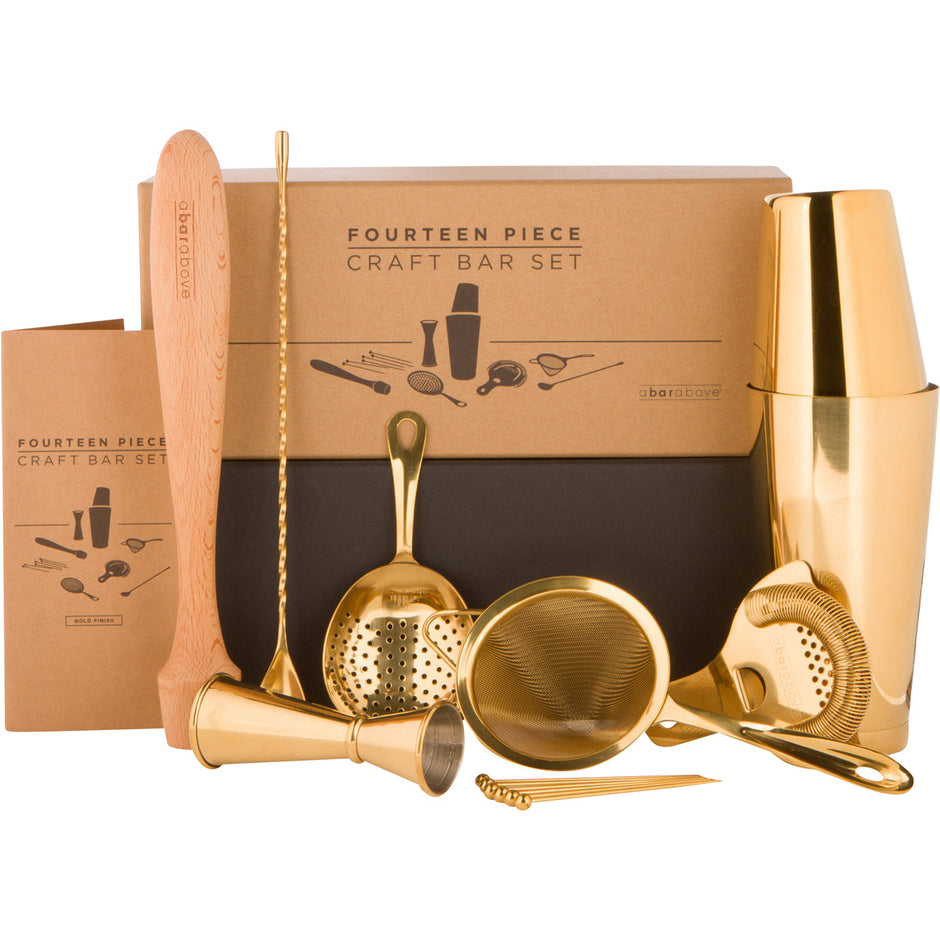
When daylight isn’t an option, a ring light can be worth its weight in gold. Check out these top-quality Boston shakers that look incredible under any lighting. Setting the mood with the lighting can transform your shot from average to extraordinary.
2. The perfect background
What’s behind your cocktail can be just as important as the cocktail itself. Choose a background that complements without overpowering. Wood, marble, or even a simple solid color can let your concoction take center stage.
Remember, the backdrop should whisper, not shout.
For those times when you need a bit more ‘oomph,’ add a touch of thematic props but keep it classy. Maybe a cocktail inspired by world whiskies beyond bourbon and rye would pair well with rustic elements. Your background is a silent storyteller; let it speak volumes about your creation.
3. Angles and composition
The angle is not just a geometry thing; it’s your secret ingredient to make each cocktail portrait a work of art. Try shooting from several angles to find the one that showcases your drink’s best side. Eye-level shots are tried and true, but a top-down approach can reveal intricate details from above.
Play around with the composition as well. Apply the rule of thirds or center your drink for a symmetrical aesthetic. You’re the director here, show off that drink like it’s the star of its own show.
Have you seen the famous drinks from classic novels? Imagine how they’d look through your lens.
4. The ideal glassware
Every cocktail deserves its own throne, and by throne, I mean the right glass. Glassware is not just functional; it’s about style and presence. The shape, the clarity, and even the thickness of the glass can add a layer of sophistication to your photo.
Thinking of a drink with a historical twist? Showcase it in glassware that tells a story, akin to recreating historical cocktails. Let your drink wear its glass like a bespoke suit; perfectly fitted and impossibly chic.
5. The garnish game
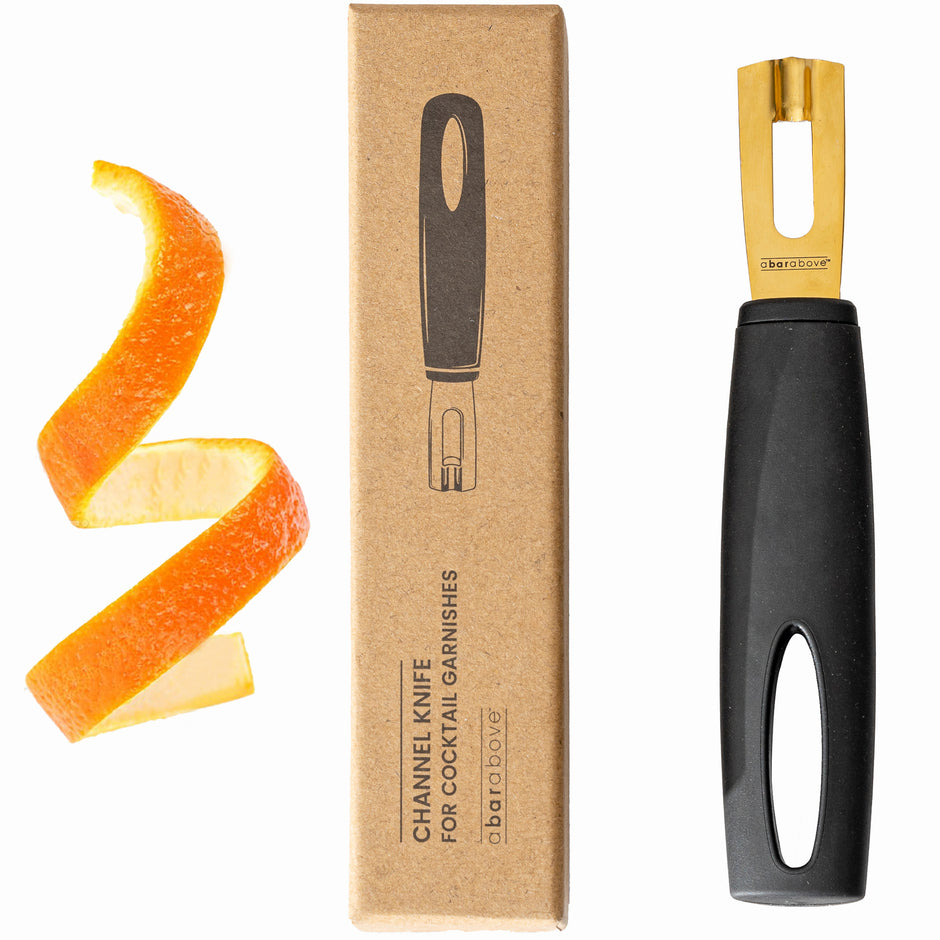
Garnishes are the sparkles on the cocktail dress. They can catch the eye and entice with their colors and textures. A well-placed garnish can make all the difference in a photograph.
Lighting is the ace up your sleeve in cocktail photography.It can make your drink glow like a jewel or fuse colors in ways that pique the interest of any thirsty scroller. Use it wisely to transform your shot from average to extraordinary.
Consider balance and color contrast when adding a twist, sprig, or edible flower.
Experiment with garnishes to enhance the drink’s personality, much like edible flowers in mixology. A garnish should complement, not dominate. It’s the final brush stroke on your liquid canvas.
More cocktail photography tips
Donning the hat of a cocktail photographer means doubling down on details. To add flair to your drink images and make them pop off the screen, you’ll need to mix in a little extra creativity. From choosing props to finding your signature style, the devil’s in the details, and so is the dazzle.
- Experiment with textures to add depth to your photos, like using a linen napkin or a wooden cutting board.
- Play with movement, like capturing the action of a pour or the effervescence of bubbles.
- Use editing apps to fine-tune your images, but keep the edits subtle to maintain the drink’s authenticity.
- Master the art of balance by not overcrowding the frame; allow your cocktail some breathing room.
- Develop a consistent style to give your cocktail portfolio a cohesive look that’s distinctly yours.
Before you start clicking away, let’s lay down the ground rules for what to do (and not do) to get that thumb-stopping shot.
| Do | Don’t |
|---|---|
| Use natural light when available | Overexpose your shots with harsh light |
| Keep the lens clean for clarity | Use a dirty or smudged lens |
| Adjust the white balance for mood | Ignore the color balance of the photo |
| Incorporate seasonal decor | Clutter the photo with unrelated items |
| Reflect your cocktail’s character | Force unrelated themes into the image |
This shot-list serves as your cheat sheet to nail those like-worthy pics.
Advantages and disadvantages of cocktail photography
Cocktail photography is more than just taking snaps; it’s about conjuring up an atmosphere that transports your viewers straight into the world of your drink. But as with any craft, there are highs and lows that come with pursuing the perfect picture.
Advantages
- It showcases the beauty and intricacy of your cocktails, inviting viewers to taste with their eyes.
- Offers creative expression, letting you tell a story through colors, garnishes, and glassware.
- Improves the visual appeal of your blog or social media, potentially attracting more followers.
- Enhances the perceived value of your cocktail creations—a great shot can make a simple drink look exquisite.
Disadvantages
- Requires time, patience, and practice to perfect the technique and styling.
- Can be costly if investing in professional equipment, props, and editing software.
- Demanding in terms of planning and setup, especially when adding props and adjusting lighting.
- The urge to constantly improve can lead to an endless cycle of tweaking and never quite being satisfied with the shot.
In my experience, dabbling with cocktail photography has been a whirlwind of trial, error, and eventually – triumph. Capturing that lush, vibrant vibe of a freshly crafted cocktail can be elusive, but when you nail it, the feeling is intoxicating. It’s an exploratory journey—no need to be a pro from the get-go.
Use what you have, start snapping, and let your creative juices flow as freely as your spirits.
Remember, your photo tells the story of the drink, and every story deserves attention to detail. Maybe that glare off the ice is the twinkle in your cocktail’s eye, or perhaps the curve of an orange peel spells out the zest of life in your negroni. I found inspiration by exploring the role of salt in cocktails, and though I’m no expert, I reckon any endeavor that combines art with a good tipple is worth the shot!
If you are a visual learner, check out this video titled ‘How to Get Good Lighting for Cocktail Photography’
Frequently asked questions (FAQ)
How do you prevent ice from melting too fast when taking cocktail photos?
To keep your drink looking frosty and fresh, consider using acrylic ice cubes—they won’t melt under the heat of your lights. If you prefer real ice, work quickly and have everything set up before adding the ice to the glass. Keeping your ingredients and glassware chilled until the last moment also helps keep the ice solid longer.
Can you take good cocktail photos with a smartphone?
Absolutely, smartphones today are equipped with cameras that can capture stunning images. The key to great smartphone cocktail photos is to ensure good lighting and composition. Use the highest quality setting on your camera app, and don’t be afraid to experiment with different angles and edits to enhance the natural beauty of your drinks.
What props are best for enhancing cocktail photographs?
Props should complement the drink’s theme without distracting from it. Think of items like books, bar tools, herbs, spices, and fruits as supporting actors that add depth and context. Select props that resonate with the ingredients or the origins of the cocktail.
For example, a sprig of rosemary might accompany a Mediterranean gin drink. Less is usually more; choose props that support the story you’re telling with your cocktail.
Final thoughts
Cocktail photography is more than just snapping a pretty picture; it’s a sensory journey that begins in the shaker and ends on the screen. With the right technique, a dash of creativity, and a twist of styling, you can elevate your cocktail snapshots from simply good to mixology magazine-worthy. Remember to enjoy the process as much as the result—every photo you take is a chance to refine your craft and a reason to toast to your progress.
What’s your go-to trick for capturing the perfect cocktail image?Did I cover everything you wanted to know? Let me know in the comments section belowI read and reply to every comment. If you found this article helpful, share it with a friend, and check out my full blog for more tips and tricks on cocktail photography. Thanks for reading and here’s to capturing moments, one clink at a time!
